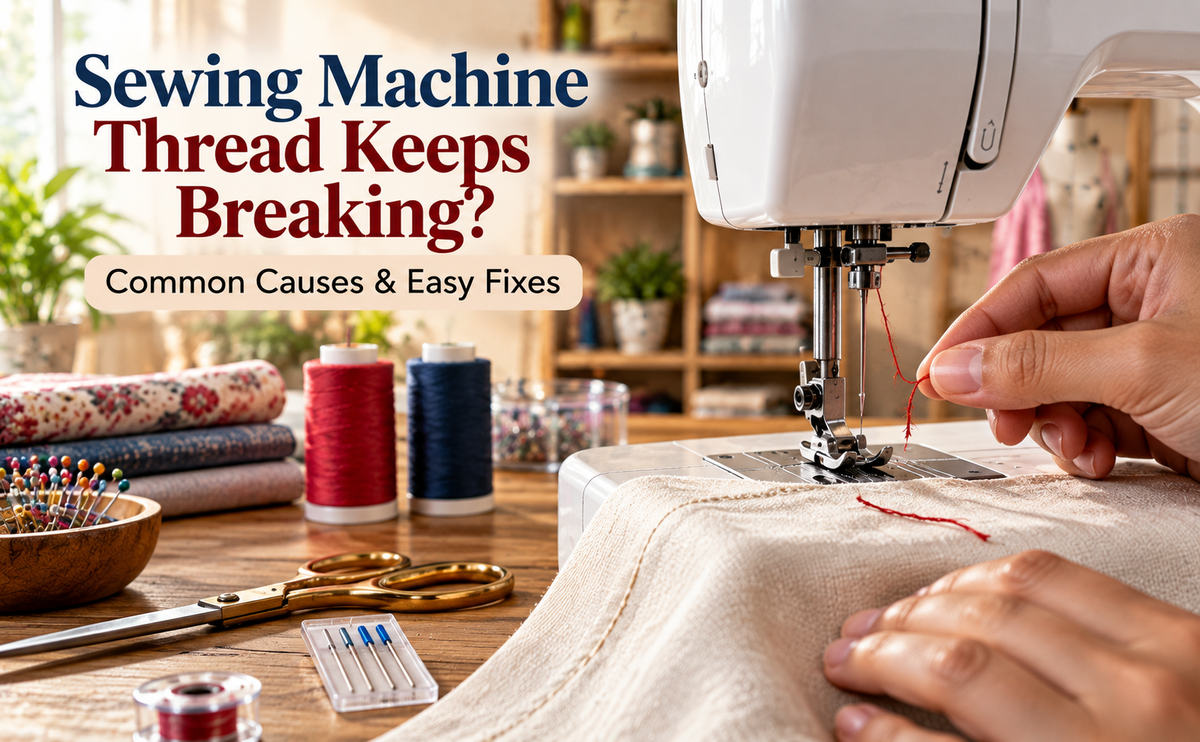
Nothing interrupts a sewing project faster than a thread that keeps breaking. You may be halfway through stitching a blouse, altering a garment or completing a customer order when the upper thread suddenly snaps. After rethreading the machine, the same problem happens again, making even simple sewing tasks frustrating and time-consuming.
Sewing machine thread breaking is a common problem experienced by beginners, home sewing enthusiasts and professional tailors. It can happen due to incorrect threading, excessive thread tension, damaged needles, poor-quality thread, bobbin issues or problems with the machine’s threading mechanism.
Fortunately, many thread-breaking problems can be resolved without complicated repairs. Identifying where the thread breaks and checking a few essential machine components can help you find the cause.
In this guide, we explain why sewing machine threads keep breaking, how to troubleshoot upper and bobbin thread problems, and the practical steps you can take to prevent repeated thread breakage.
Why Does Sewing Machine Thread Keep Breaking? Common Causes and Fixes
A sewing machine forms stitches by coordinating the needle, upper thread, bobbin thread and fabric-feeding mechanism. If the thread encounters excessive resistance, friction or an obstruction, it may fray or snap during stitching.
The problem is not always caused by thread quality. Even a good sewing machine can experience frequent thread breakage when it is incorrectly threaded or fitted with an unsuitable needle.
Understanding the most common causes will help you identify the problem more accurately.
1. Incorrect Upper Threading
Incorrect threading is one of the most common reasons sewing machine thread keeps breaking.
The upper thread must pass through the machine’s designated thread guides, tension mechanism and take-up lever before entering the needle.
If the thread misses one of these components or becomes trapped during threading, it may experience uneven tension while the machine operates.
How to fix it:
- Switch off the sewing machine.
- Remove the upper thread completely.
- Raise the presser foot and position the needle as instructed in the machine manual.
- Follow the manufacturer’s threading path carefully.
- Make sure the thread passes through the take-up lever and all required guides.
- Check that the thread is not tangled around the spool pin.
- Lower the presser foot before testing the stitching.
When the presser foot is raised on many domestic machines, the tension discs open, allowing the thread to seat properly during threading.
Always follow the instructions for your particular model, as industrial and computerized machines may have different threading arrangements.
2. Upper Thread Tension Is Too Tight
Thread tension controls the resistance applied to the thread as it passes through the machine.
If the upper thread tension is excessively tight, the thread may be subjected to unnecessary strain during stitch formation.
This can cause repeated breakage, especially when sewing multiple fabric layers or working with delicate thread.
How to fix it:
Start by checking whether the machine is threaded correctly.
If the threading is correct, refer to the machine manual and return the tension control to the recommended starting setting.
Sew a test seam on a scrap piece of fabric and observe the stitches.
If necessary, make small adjustments to the upper tension and test again.
Avoid making large adjustments without understanding the problem. Excessively loose tension can create uneven stitches or thread loops.
3. Using a Bent, Blunt or Damaged Needle
A damaged sewing machine needle can cause several stitching problems, including skipped stitches, fabric damage and thread breakage.
Over time, needles can become blunt or develop slight bends. A needle may also be damaged after striking a pin, presser foot or needle plate.
Even minor damage can create friction against the thread as it passes through the needle eye.
How to fix it:
Switch off the machine and inspect the needle carefully.
Replace it if you notice any bending, damage or visible wear.
Install a new needle that is compatible with your machine and fabric.
Make sure it is inserted in the correct orientation and secured according to the manufacturer’s instructions.
Do not attempt to straighten and reuse a bent needle.
Replacing a damaged needle is often one of the quickest ways to resolve repeated thread breakage.
4. Incorrect Needle and Thread Combination
The needle and thread must work together during stitch formation.
If the thread is too thick for the needle eye, it may rub excessively against the needle and begin to fray.
Similarly, using an unsuitable needle for a particular fabric can interfere with stitch formation and increase thread stress.
For example, sewing stretch fabric with an inappropriate needle may cause stitching problems, while thick thread passing through a very small needle eye can experience excessive friction.
How to fix it:
Choose the needle type and size according to the fabric and thread manufacturer’s recommendations.
For general sewing, universal needles may suit many woven fabrics.
Stretch or ballpoint needles may be more suitable for particular knitted materials, while denim needles are designed for appropriate heavier woven fabrics.
Thread should pass smoothly through the needle eye without excessive resistance.
Always confirm the needle system required by your sewing machine before purchasing replacement needles.
5. Poor-Quality, Old or Damaged Sewing Thread
Thread quality can significantly affect sewing performance.
Old, brittle or unevenly manufactured thread may break under normal sewing tension.
Some threads also develop weak sections due to improper storage, prolonged exposure to sunlight or moisture-related damage.
You may notice the thread shedding fibres, fraying near the needle or snapping repeatedly even after adjusting the machine.
How to fix it:
Replace the existing thread with a fresh, good-quality spool suitable for your project.
Inspect the spool for knots, damaged sections or irregular thread winding.
If the problem disappears after changing the spool, the original thread may have been contributing to the breakage.
Store sewing threads in a clean, dry location away from direct sunlight and excessive heat.
6. Incorrect Bobbin Installation
The bobbin supplies the lower thread required for lockstitch formation.
If the bobbin is inserted incorrectly, wound unevenly or incompatible with the machine, thread movement may become irregular.
This can cause thread tangling, stitching problems or breakage.
How to fix it:
- Turn off the sewing machine.
- Remove the bobbin following the manufacturer’s instructions.
- Check whether the thread is wound evenly.
- Make sure the bobbin is the correct type for your model.
- Reinsert it in the correct orientation.
- Guide the bobbin thread through the designated path.
- Remove any accessible tangled thread.
Do not assume that bobbins of similar appearance are interchangeable.
Different machines may require specific bobbin sizes and designs.
7. Thread Getting Caught Around the Spool
Sometimes the problem is not inside the sewing machine.
The upper thread may become caught on the edge of the spool, behind the spool cap or around the spool pin.
As the machine continues stitching, the obstruction prevents the thread from feeding smoothly.
The increasing resistance can eventually cause the thread to snap.
How to fix it:
Check that the spool is positioned correctly.
Use the spool cap specified for your spool type and machine, where applicable.
Make sure the thread unwinds freely without becoming trapped.
Inspect the spool edges for rough spots or damaged plastic that may catch the thread.
For machines designed to use a separate thread stand, confirm that the thread follows the correct path through the stand’s guides.
8. Rough Edges on the Needle Plate or Presser Foot
The needle plate and presser foot are positioned close to the needle and thread during sewing.
If the needle strikes either component, it may create small scratches or rough edges known as burrs.
As the thread passes against a damaged surface, it can begin to fray and eventually break.
How to fix it:
Switch off and unplug the sewing machine before inspecting the sewing area.
Look for visible scratches or damage around the needle plate opening and presser foot.
If you notice damaged components, have them inspected and replaced where necessary.
Avoid filing, grinding or modifying machine components yourself, as improper repairs may create additional problems.
9. Lint and Thread Buildup Around the Bobbin Area
Lint, fabric fibres and thread fragments can accumulate inside the accessible bobbin compartment.
Over time, this buildup may interfere with thread movement and contribute to tangling or irregular stitch formation.
This is particularly relevant for machines used regularly in tailoring shops and garment production units.
How to fix it:
Turn off and unplug the machine.
Remove the bobbin and open only the covers or components the manufacturer permits users to remove.
Use a suitable cleaning brush to remove visible lint and loose thread fragments.
Avoid forcing sharp tools into the hook mechanism or dismantling internal components.
Do not apply lubricants unless the manufacturer’s instructions specifically recommend them.
Regular cleaning helps reduce avoidable stitching interruptions.
10. Pulling the Fabric Too Hard While Sewing
Some sewing machine users pull the fabric from behind the presser foot to make it move faster.
However, a sewing machine’s feed mechanism is designed to move the material through the stitching area.
Pulling the fabric forcefully can cause the needle to bend or move out of alignment during stitching.
This may damage the needle, interfere with stitch formation and contribute to thread breakage.
How to fix it:
Allow the feed dogs and presser foot to guide the fabric at the machine’s normal pace.
Use your hands to support and guide the material gently without pulling or pushing it forcefully.
For large or heavy garments, support the fabric’s weight on the worktable so it does not drag against the needle.
How to Fix Sewing Machine Thread Breaking: Step-by-Step Troubleshooting
When thread keeps breaking, avoid changing several machine settings at once. A systematic approach makes it easier to identify the actual cause.
Step 1: Identify Which Thread Is Breaking
Start by determining whether the upper thread or bobbin thread is breaking.
If the upper thread snaps near the needle, check threading, needle condition, spool feeding and upper tension first.
If the bobbin thread breaks, inspect the bobbin winding, installation, compatibility and accessible bobbin compartment.
Also observe whether the thread breaks immediately after starting or only after several stitches.
This information can help narrow down the problem.
Step 2: Switch Off the Machine and Rethread It
Turn off the machine before working near the needle.
Remove the upper thread and rethread the machine using the correct path.
Check the bobbin installation as well.
Incorrect threading is a common and easily overlooked cause, so this should be one of the first troubleshooting steps.
Step 3: Replace the Sewing Machine Needle
If rethreading does not solve the problem, replace the needle with a compatible new one.
Check that it is appropriate for your fabric and thread.
A needle may have a damaged eye or tip even when the damage is not immediately visible.
Step 4: Test with Fresh Sewing Thread
Use a fresh spool of suitable thread to eliminate old or damaged thread as a possible cause.
Ensure the spool feeds smoothly and is positioned according to the machine manual.
If the machine works normally with the replacement spool, inspect the original thread for damage.
Step 5: Check and Adjust Thread Tension
Return the upper tension to the manufacturer-recommended starting setting for your sewing conditions.
Use a test fabric similar to the material you are stitching.
Adjust the tension gradually only when necessary.
Avoid changing bobbin-case tension screws unless the machine manual specifically instructs you to do so. Incorrect bobbin tension adjustments can create additional stitching problems.
Step 6: Inspect and Clean Accessible Areas
Check for lint, loose thread and visible obstructions around the bobbin compartment.
Inspect the needle plate and presser foot for obvious damage.
If components appear worn or scratched, arrange a professional inspection.
Do not attempt to repair internal mechanisms without appropriate training.
Step 7: Perform a Test Stitch
After checking the machine, sew a short test seam at a moderate speed.
Observe whether the thread feeds smoothly and whether the stitches form consistently.
If the thread breaks again, note exactly when and where the problem occurs.
Repeated failure after basic troubleshooting may indicate an issue requiring qualified service.
Sewing Machine Thread Breaking: Quick Troubleshooting Table
Problem | Possible Cause | Recommended Solution |
Upper thread breaks immediately | Incorrect threading | Rethread the upper thread |
Thread frays near the needle | Damaged needle or unsuitable needle size | Replace with a compatible needle |
Thread breaks during stitching | Excessive upper tension | Check threading and adjust tension gradually |
Thread gets caught near spool | Incorrect spool positioning | Reposition spool and check thread path |
Bobbin thread breaks | Incorrect bobbin winding or installation | Rewind or reinstall the correct bobbin |
Thread snaps on thick fabric | Unsuitable needle/thread combination | Select compatible sewing components |
Thread breaks after needle strike | Burr on needle plate or presser foot | Arrange inspection and replacement |
Thread tangles underneath fabric | Incorrect threading or bobbin issue | Rethread and check bobbin area |
Thread breaks repeatedly despite adjustments | Possible mechanical problem | Seek professional servicing |
Why Does the Upper Thread Keep Breaking?
Upper thread breakage is often associated with incorrect threading, excessive tension, needle damage or restricted thread feeding.
If the upper thread repeatedly snaps, begin by checking the path between the spool and needle.
Look for thread catching around the spool pin, missing the take-up lever or passing through a damaged needle eye.
Rethreading the machine and replacing the needle are generally sensible first steps.
If the problem continues, examine the needle plate and other accessible thread-contact areas for visible damage.
Why Does the Bobbin Thread Keep Breaking?
Bobbin thread breakage is often related to bobbin installation, uneven winding, incorrect bobbin compatibility or damage in the bobbin compartment.
Remove the bobbin and check whether the thread unwinds smoothly.
Make sure the bobbin is designed for your machine and inserted according to the manual.
If the bobbin case is scratched or damaged, it may need replacement.
Do not adjust bobbin tension mechanisms without model-specific instructions.
Why Does Sewing Machine Thread Break on Thick Fabrics?
Thread may break more frequently when stitching thick fabrics because the needle, thread and feeding system experience different operating demands.
Multiple fabric layers can increase resistance during sewing.
The problem may become worse when the machine uses an unsuitable needle, an incompatible thread or settings that do not match the material.
Use a needle suitable for the fabric and make sure the machine is designed to handle the required thickness.
Avoid forcing heavy materials through a machine that is not intended for them.
If you regularly stitch thick fabrics commercially, the appropriate industrial machine configuration may be more suitable than a general-purpose domestic machine.
Why Does Sewing Machine Thread Break at High Speed?
When stitching speed increases, problems with threading, friction or thread feeding can become more noticeable.
A thread spool that does not unwind smoothly may create sudden resistance.
Damaged needles, worn thread guides or unsuitable thread can also contribute to breakage.
If the thread breaks only at higher speeds, reduce the sewing speed and inspect the threading system.
Check that the machine, needle and thread are appropriate for the intended operating conditions.
If the issue persists, especially on an industrial machine, have the machine examined by a qualified technician.
How to Prevent Sewing Machine Thread from Breaking
Preventive maintenance can reduce the frequency of thread-breaking problems and help maintain consistent stitching quality.
Use the Right Needle for Every Fabric
Different materials require appropriate needle types and sizes.
Select needles based on the fabric, thread and sewing operation.
Replace damaged or worn needles promptly.
Choose Good-Quality Sewing Thread
Use thread suitable for the fabric and stitching application.
Avoid using brittle, damaged or visibly uneven thread.
Store thread properly to protect it from unnecessary deterioration.
Follow the Correct Threading Procedure
Threading mistakes can occur even when you have been using a sewing machine for years.
Follow the machine’s designated threading path and check that the thread moves freely.
Clean Your Sewing Machine Regularly
Remove accessible lint and loose thread fragments according to the manufacturer’s maintenance instructions.
Tailoring businesses using machines frequently may need to inspect sewing areas more regularly than occasional home users.
Avoid Unnecessary Tension Adjustments
Do not change thread tension simply because a stitch looks unusual.
First check threading, needle condition, thread suitability and bobbin installation.
Make small tension adjustments only when needed.
Use Machines Suitable for Your Workload
A domestic machine may be suitable for everyday home sewing and moderate tailoring tasks, depending on the model.
For repetitive commercial garment production, an appropriate industrial machine may provide a better match for the intended workload.
Businesses evaluating professional equipment can explore industrial sewing machines to understand the available options.
When Should You Get Your Sewing Machine Professionally Serviced?
Many thread-breaking problems can be fixed through proper threading, needle replacement and basic maintenance.
However, some problems require professional attention.
Consider arranging a machine inspection when:
- The thread continues breaking after correct threading and needle replacement.
- The needle repeatedly strikes the needle plate or presser foot.
- The hook or bobbin area has visible damage.
- The machine produces unusual grinding or knocking sounds.
- Stitch formation remains inconsistent despite appropriate settings.
- Thread breakage occurs repeatedly during normal operation.
In some cases, the underlying issue may involve damaged thread-contact components, incorrect needle-to-hook relationships or other mechanical problems.
These are not suitable for guesswork or unauthorized adjustments.
Continuing to operate a machine with a mechanical fault may cause further damage.
For machine owners who are also considering an upgrade, our guide to domestic vs industrial sewing machines explains how to choose equipment according to your sewing requirements.
Sewing Machine Buying Guidance in Hyderabad – Sri Dhanalakshmi Enterprises
A sewing machine that repeatedly breaks thread can interrupt tailoring work and affect garment production. While many problems can be corrected through simple troubleshooting, it is important to use equipment suitable for your stitching requirements.
Sri Dhanalakshmi Enterprises is an established sewing machine dealer in Hyderabad, serving customers since 1960. The business offers sewing machines for beginners, home users, tailoring professionals, boutique owners and commercial sewing operations.
Whether you are looking for a sewing machine for home tailoring or considering an upgrade for professional garment production, choosing a model that matches your fabric types and workload is essential.
You can explore the Brother sewing machine collection or visit Sri Dhanalakshmi Enterprises in Hyderabad to enquire about suitable sewing equipment and available service support.
Conclusion
If your sewing machine thread keeps breaking, the problem may be caused by incorrect threading, excessive tension, a damaged needle, unsuitable thread or bobbin-related issues.
The best approach is to identify which thread is breaking and troubleshoot the most common causes one at a time.
Start by rethreading the machine, replacing the needle and testing with good-quality thread. Check the bobbin installation and clean accessible areas according to the manufacturer’s instructions.
If the thread continues to break after these steps, professional servicing may be necessary.
Proper maintenance, correct sewing accessories and suitable machine settings can help prevent repeated thread breakage and keep your sewing projects running smoothly.
For sewing machine buying guidance and enquiries in Hyderabad, visit Sri Dhanalakshmi Enterprises to explore equipment suitable for your stitching needs.